1. I've corrected my Information parts for the Date.
2. I've corrected my Information parts for the Contact info (phone number & e.mail).
3. I've re-touch up my background color to be look more evenly.
Here are my final e•Wallpaper looks like ~~~(^________^)~~~

To Mdm.Lydia :
I would like to submit my psd file of my e•Wallpaper to you after the mir-term break, it is due to my files is too big, unsuccessfully upload to the assignment 1. Thank you so much^-^.
♥¸¸.•*¨*•♫♪♪♫•*¨*•.¸¸♥¸¸.•*¨*•♫♪♪♫•*¨*•.¸¸♥¸¸.•*¨*•♫♪♪♫•*¨*•.¸¸♥¸¸.•*¨*•♫♪♪♫•*¨*•.¸¸♥
1. I choose the right size (3508 pixels x 2480 pixels) for my eWallpaper.

2. Then I have chosen few backgrounds and few photos that I took last 2 days in school.


3. Now I try to make a Cropping of the Admin Building. I use cropping tools to crop the new picture with the area I want. The brighter area is what I want, the darken area will be cut off after the cropping process.

This is the image after cropping. See, the road light pole and some of the land below has been cut off.

4. But, I feel the sky of the image is quite pale and exposure, so I change the sky with few following steps. First, I used Magic Wand Tool and Quick Selection Tool to select the pale sky. And I found a new sky image to replace the pale sky.

5. Before I paste the new sky on it, I have adjusted something for the edge for my building. I go to ‘Select’ then choose ‘Modify’, choose ‘Expand’ and make some adjustment. Then, go ‘Modify’and ‘Feather’, this can make the edge more smoothly to be seen after pasted the new sky.

6. Here are the result :

7. Then, I started to touch up my next picture, the FOM Building. I use the Clone Stamp Tool to clean up the wall dirt and the pipes and box that I don’t want.
Before :

After :

Next, I have adjusted the building’s brightness and contrast to be more capture in see.

This is completed picture after adjustment for the brightness and pasted the new sky on it.

8. Next, again, crop the picture that I want (the 1st picture). Then removed those items in the picture that I don’t need (the 2nd picture). Taaalaaa…here there are….:


Then, 'Levels' are adjusted…

'Curves' have adjusted…

'Brightness and Contrast' adjusted too…

Here are the final adjusted. Of course, I have replaced a new sky for it too, in order to make the picture look nice^^ lastly, I adjusted for the ‘Brightness/Contrast’ for the whole picture again :

9. Coming up next, I open a new file, create the background in white. Then, I drag a sky background into it, and fit it.

Like this…

10. Then , I make a selection roughly on the center…

11. After that, I do a quick mask on it…

12. Next, I chosen ‘Gaussian Blur’, this is to make the selected part look kind of blur^^

The ‘Gaussian Blur’ box will pop-out…adjusting…

13. coming up next, I add a vector mask.

14. I dropped a kind of iron texture to the layer.

15. This is the image after I fit it in the layer….then, I choose ‘Multiply’ for the Layer…

16. After that, adjust for the ‘Opacity’.....~~!!

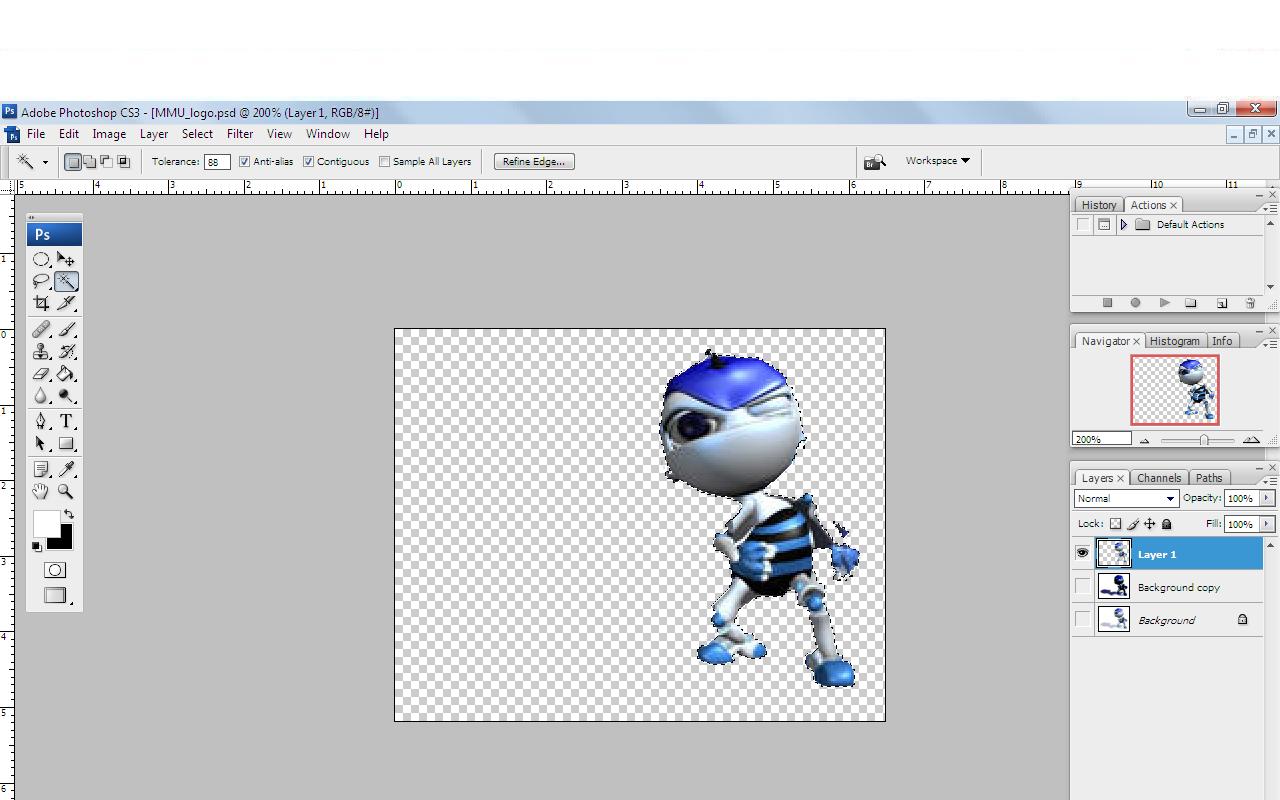
17. Just now is just the beginning! Now, letz go into the steps deeper and clearer for my eWallpaper…I choose MMU logo and drag it in…

18. Then, I go to ‘Channels’ and I’ve copy one more layer for the Green.

19. Next, i have adjusted for the ‘Levels’.

20. Then, do Inverse selection, click to RGB layer. Copy those selection to a new layer.

21. This is the final look of the logo selected..^^

22.After taking a short break for my head before I can come out with more idea in doing this eWallpaper, I continue with found a Logo MMU from the internet…

I used the ‘Magic Wand Tool’ to select the logo.

Then, I inverse the selection and cut it out. After that , this logo is waiting for the next use^^
23. Okay, now back to the background that I done just now, now, I plug in my picture that I finished edited into this background. Then I do some distorded on it.

After that, I make a selection again…


24. After that, go ‘Filter’ , choose ‘Blur’ and ‘Gaussian Blur’…adjust adjust adjust again…


25. This is the result after masked and adjusted…^^ look, did my picture looks distorted^^ hehe..

26. With using the same techniques, I drag in the photos I edited, and distort it in different way.

27. The following step is…drag in the logo that I select it just now…like this…

28. Following with plug in the MMU represented logo (the cartoon logo)..

29. Almost reach the last step, now I created and place my text…the words of ‘Faculty’and ‘Management’ I will first create…plug in the graduated pictures , and do the clipping on it. See! Now the picture are has been clipped into my words!! Amazing!

30. Next, the words of ‘of’ and ‘open day’is what I need to create now. Doing my assignment till here, already the midnight…sounds so crazy in doing my assignment till so late..>.<”..hahaa…well, have to continue also…

31. The last text created is for the date and details for this open day eWallpaper..^-^ And here are the almost final result!

32. But wait, feel like to put something at my wallpaper border, so may look more nice^^ okay, here are the 2nd last step, I would like to drag in a border layer….yeah!

33. Then, I fit the border nicely and fit into it, then go to the ‘Layers’ chosen ‘Multiply’.

34. After that, i found that the center for the background color are slightly look not so evenly, so have adjusted the Opacity again to around 25% and chosen Darken for it!!! YEAH!! My ewallpaper has done(^___^)!

Last but not least, I would like to THANKS to Mdm.Lydia that she has give me those useful information and comments, so that I could completed my eWallpaper better! Beside that, i would like to thanks Jiessen too, he is the first friend to help me in downloaded the Photoshop Software, no him, i will never have an idea to get this software! Moreover, I feel thankful to YouTube!!! It is really help me a lot!!! THANKs so much to all and more ♥♫♪•*¨*•.¸¸♥